How to Slice and Animate Sprite Sheets in Unity 2D
Unity is one of the world’s most popular engines for 2D game development, powering hits like Hollow Knight, Cuphead, and Ori and the Blind Forest. Whether you are building a platformer, an action RPG, or a top-down shooter, importing and animating character sprite sheets is a fundamental skill you will use on nearly every project.
If you are new to Unity, importing a multi-frame texture can feel a little confusing at first. If you drop a raw sprite sheet directly into your scene, Unity treats the entire image as one giant graphic rather than individual animation frames.
In this guide, we will walk you through how to configure texture import settings, slice grids using the Unity Sprite Editor, generate Animation Clips, and set up your Animator Controller.
Understanding Unity’s 2D Texture Pipeline
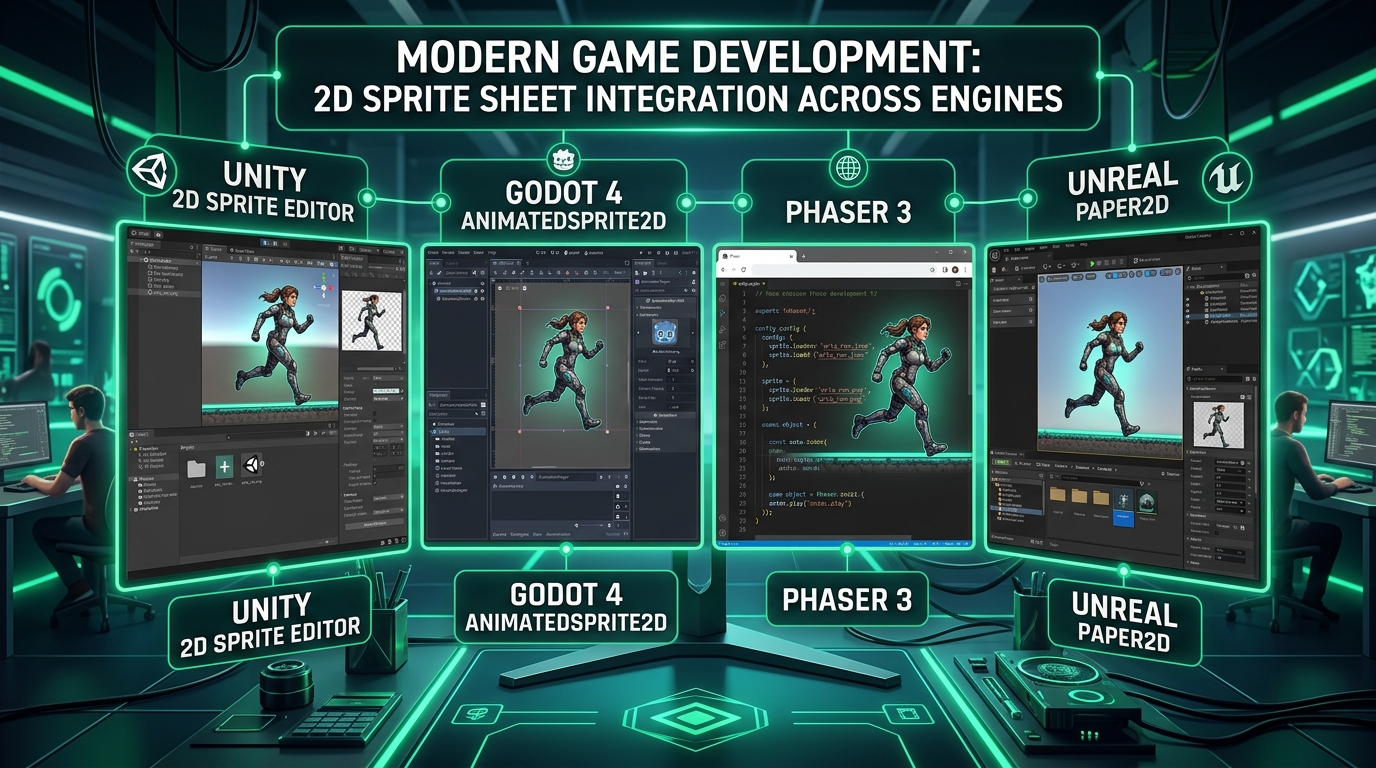
In Unity, a texture is simply an image asset stored on disk. To turn that static image into individual sprites, Unity needs to know:
- That the image contains Multiple sprites rather than a single graphic.
- The exact pixel boundaries of each cell in the grid.
- Where the Pivot Point (anchor) of each frame is located so character feet stay grounded during movement.
[ Raw Texture File (.png) ] → [ Texture Import Settings: Sprite Mode = Multiple ] → [ Unity Sprite Editor: Grid Slicing & Pivot Alignment ] → [ Generate Animation Clips (.anim) & Animator Controller ]
Step 1: Import and Configure Texture Settings
- Drag your sprite sheet PNG file into your Unity Project window (for example, into an
Assets/Sprites/folder). - Select the texture file in the Project window to view its properties in the Inspector.
- Adjust the following settings:
- Texture Type: Set to
Sprite (2D and UI). - Sprite Mode: Change from
SingletoMultiple. - Pixels Per Unit (PPU): Set this to match your art style (e.g.,
16,32, or64). This tells Unity how many pixels equal one world unit. - Filter Mode: For pixel art, change this from
BilineartoPoint (no filter)to keep graphics razor-sharp. - Compression: Set to
NoneorHigh Qualityto prevent compression artifacts.
- Texture Type: Set to
- Click the Apply button at the bottom of the Inspector.
Step 2: Slice the Grid in the Sprite Editor
- With the texture still selected, click the Sprite Editor button in the Inspector. (Note: If this button is disabled, ensure the 2D Sprite package is installed via Window > Package Manager).
- In the top toolbar of the Sprite Editor window, click Slice.
- Choose the appropriate slicing method:
- Grid By Cell Size: If you know the exact pixel dimensions of each frame (for example, X: 32, Y: 32).
- Grid By Cell Count: If you know how many columns and rows are on the sheet (for example, Columns: 6, Rows: 4).
- Automatic: Best for non-uniform sheets where frames have varying sizes with clear empty space between them.
- Set the Pivot point. For characters walking on the ground, setting the Pivot to Bottom or Custom (at the feet) ensures the character does not bob up and down unnaturally.
- Click Slice, then click Apply in the top-right corner.
You will now see your sprite sheet expand into a list of individual sliced sub-sprites in your Project hierarchy!
Step 3: Create the Animation Clip
Unity provides a fast shortcut to build 2D animations:
- In the Project window, expand your sliced sprite sheet to view the individual frames.
- Select the sequence of frames you want to animate (e.g.,
Hero_Walk_0throughHero_Walk_5). - Drag and drop the selected frames directly into your Unity Scene view or Hierarchy window.
- Unity will automatically prompt you to save a new Animation Clip (e.g.,
Hero_Walk.anim) and will create an Animator Controller attached to a new GameObject in your scene.
Step 4: Fine-Tune Frame Rate and Playback
- Open the Animation window (
Window > Animation > Animation). - Select your character GameObject in the Hierarchy.
- In the Animation window, adjust the Samples rate (frame rate):
- Set to
12or16for classic retro game pacing. - Set to
24or30for smooth cinematic 2D action.
- Set to
- Press the Play button in the Animation window to preview your loop in real time.
(Pro Tip: If you want to test and stabilize your sprite sheet loops before importing them into Unity, test them in our free browser-based spritesheet to gif converter first).
Summary
Once you understand Unity’s 2D Sprite Editor, slicing grids and building animations takes less than a minute. By setting your Filter Mode to Point, choosing consistent pivot baselines, and organizing your animations into modular clips, you set up a robust foundation for your entire game’s character mechanics.